How to use MQ2 gas sensor with Arduino | Step by step instructions

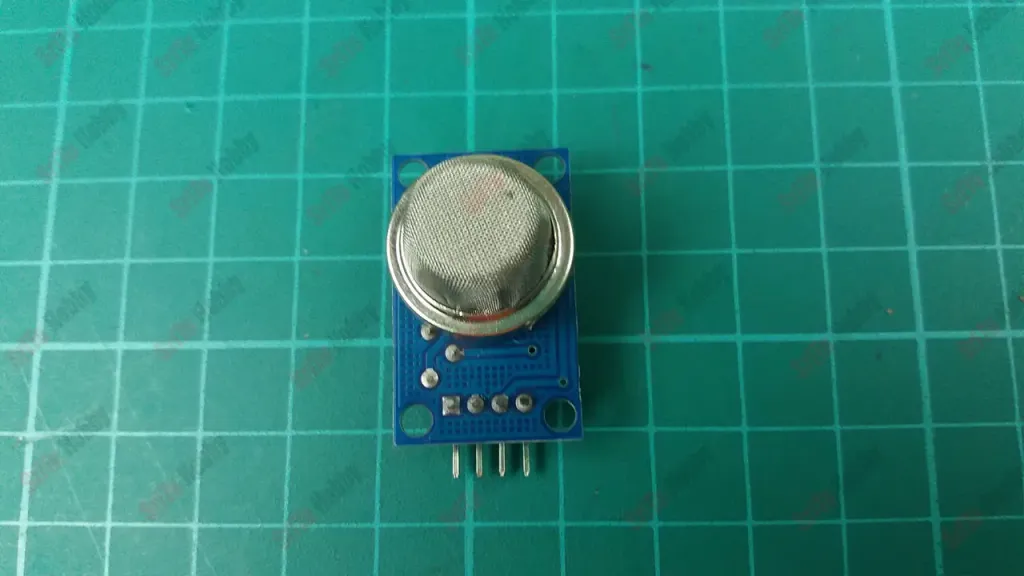


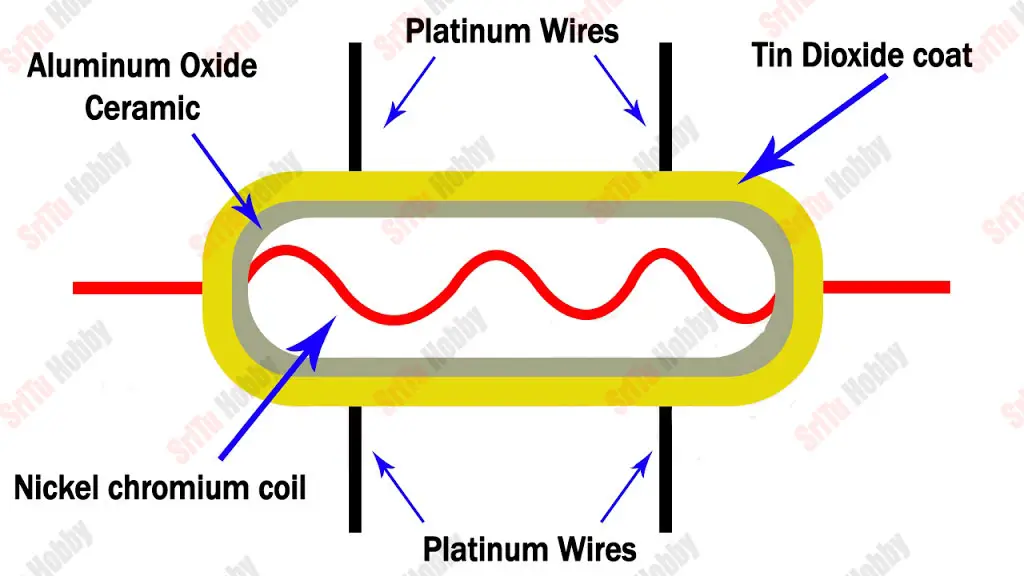
How does the MQ2 sensor work?

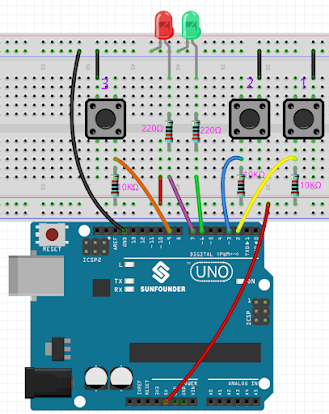
Okay, step by step we will learn how to connect this sensor with Arduino. The required components are as follows.
- Arduino UNO board x 1
- MQ2 sensor x 1
- LCD display x 1
- I2C module x 1
- Buzzer x 1
- LED bulb x 1
- 180 ohm resistor x 1
- Breadboard x 1
- Jumper wires

CODE
/*MQ2 sensor with Arduino.

#include <LiquidCrystal_I2C.h>
LiquidCrystal_I2C lcd(0x27, 16, 2);

#define LED 2
#define Buzzer 3
#define Sensor A1

void setup() {
  Serial.begin(9200);
  lcd.init();
  lcd.backlight();
  pinMode(LED, OUTPUT);
  pinMode(Buzzer, OUTPUT);
}

void loop() {
  int value = analogRead(Sensor);
  lcd.setCursor(0, 0);
  lcd.print("Value :");
  lcd.print(value);
  lcd.print("  ");

  if (value > 400) {
    digitalWrite(LED, HIGH);
    digitalWrite(Buzzer, HIGH);
    lcd.setCursor(0, 1);
    lcd.print("GAS Detected!");
  } else {
    digitalWrite(LED, LOW);
    digitalWrite(Buzzer, LOW);
    lcd.setCursor(0, 1);
    lcd.print("             ");
  }
}
Code explanation
Firstly, the I2C library is included. Later, an object was created for this library, which included the LCD width and length.
#include <LiquidCrystal_I2C.h>
LiquidCrystal_I2C lcd(0x27, 16, 2);
Secondly, the sensor, LED and buzzer pins are defined.
#define LED 2
#define Buzzer 3
#define Sensor A1
In the setup function. The LCD display is started. Also, the LED and buzzer pins are set as output pins.
void setup() {
Serial.begin(9200);
lcd.init();
lcd.backlight();
pinMode(LED, OUTPUT);
pinMode(Buzzer, OUTPUT);
}
In the loop function, the sensor values are read and put into the integer variable. After, these values are printed on the LCD display.
int value = analogRead(Sensor);
lcd.setCursor(0, 0);
lcd.print("Value :");
lcd.print(value);
lcd.print(" ");
Then, these values are checked using the IF condition. If the sensor value is greater than 400, the LED and buzzer are activated. Also, printed on the LCD as “Gas detected”. Otherwise the LED and buzzer will be deactivated.
if (value > 400) {
digitalWrite(LED, HIGH);
digitalWrite(Buzzer, HIGH);
lcd.setCursor(0, 1);
lcd.print("GAS Detected!");
} else {
digitalWrite(LED, LOW);
digitalWrite(Buzzer, LOW);
lcd.setCursor(0, 1);
lcd.print(" ");
}
Lastly, select board and port. Afterward, upload this code to the Arduino board.<script async src="https://pagead2.googlesyndication.com/pagead/js/adsbygoogle.js?client=ca-pub-7508976711535587" crossorigin="anonymous"></script>


Comments
Post a Comment